Join-on-the-go

I get a lot of questions about how to join hexagons with
the join-on-the-go method.  Time for a tutorial.

Here we go.
DSCF3661
The basic pattern for the african flower hexagon can be found
in english here >> and in swedish here >>

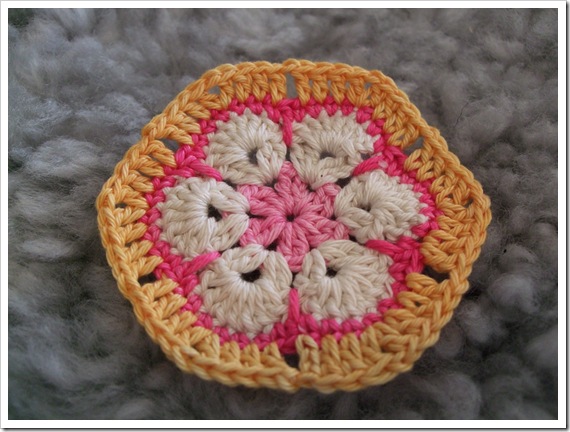
To use the join-on-the-go method, you need to change the middle dc on each
side of the hexagon into a chain stitch. This will give you 12 points to join
the hex’s together. One point in each of the six corner and one point
at each of the hexagons sides. You can see it in the picture above.
DSCF3662
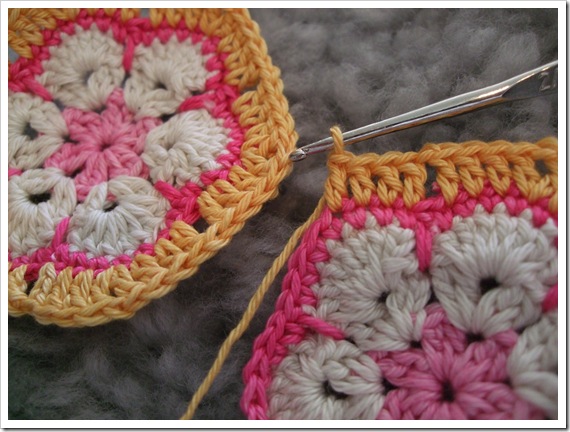
You will make the joining on the last row of the hexagon pattern (the dc row).
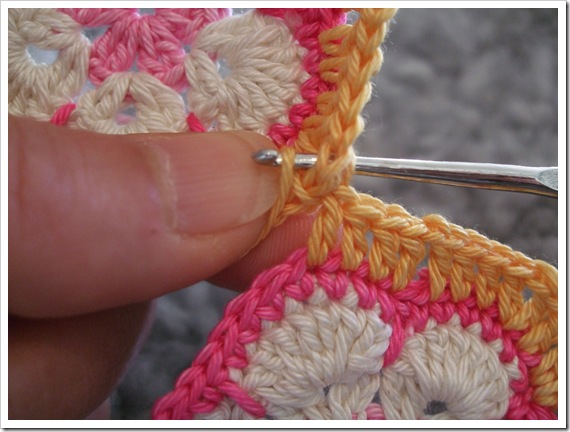
When you reach one corner you make the chain stitch around the
chain stitch in the corner of the other hexagon.
DSCF3663
Put the hook through the “hole” at the corner, get the yarn with the
hook and pull the yarn through…
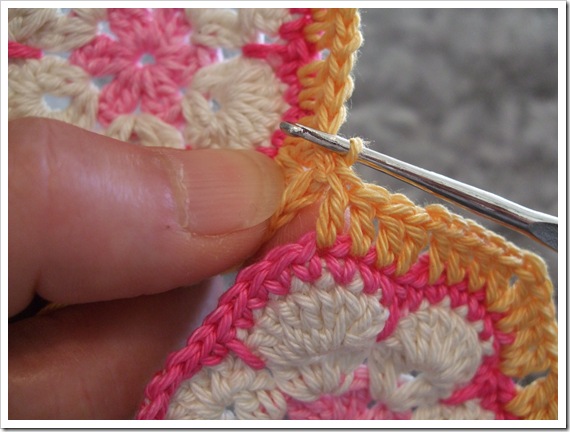
DSCF3665
… and through the loop on the hook, to form a chain stitch around the corner.
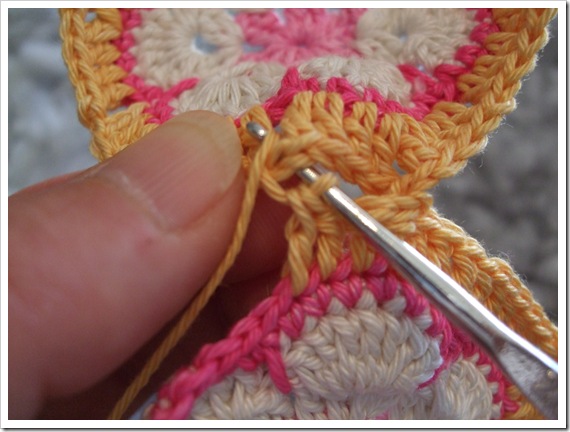
DSCF3666
Make 4 dc along the side, and then join again with the next chain stitch.
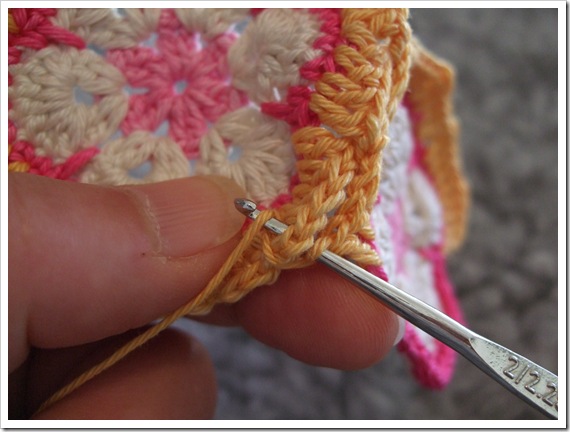
DSCF3667
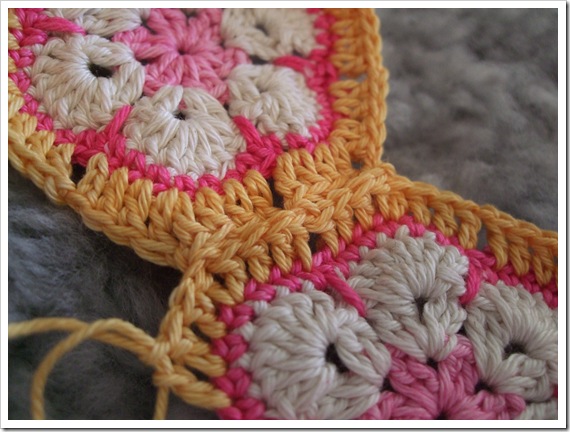
Make again 4 dc along the side, and again join with a chain stitch in the corner.
DSCF3668
Tadaa! - You have now joined two hexagons together.

Element_Stitching_H

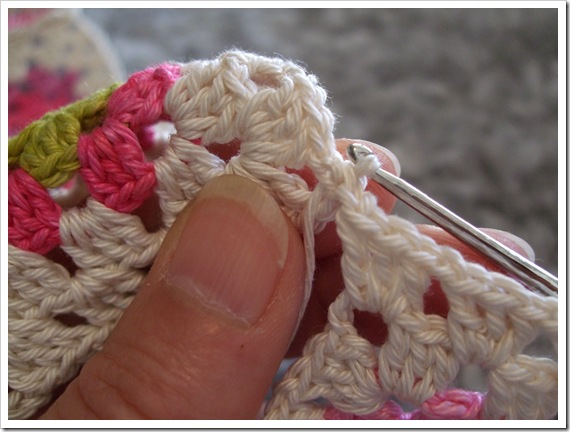
The join-on-the-go method can also be used for granny squares.
DSCF3669
As a granny square has three chain stitches at each corner to make them square,
when joining at the corners you need to make one chain stitch, join with one chain stitch,
and then one chain stitch again. Don’t forget about the extra chain stitches!

DSCF3670
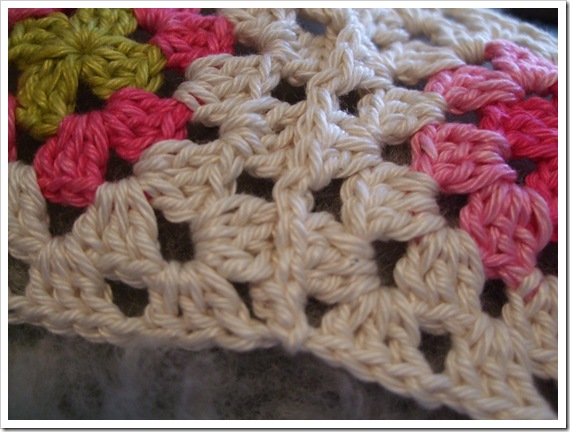
Along the sides just join with one chain stitch same as with the hexagons.
DSCF3672
This is how your finished result will look like. Neat isn’t it ?!

carinagardner_2ps_mayfreebie_element_flower

aaa

Drop spindle DIY

Maybe you are just like me. You want to try lots of different things, but you
don’t want to pay a lot of money for expensive equipment – just to give it a try.
That’s how it was for me when I wanted to try spinning with a drop spindle.
Luckily I found a DIY tutorial on the web, and I made my own.

This is how I made my first – and very usable – spindle.

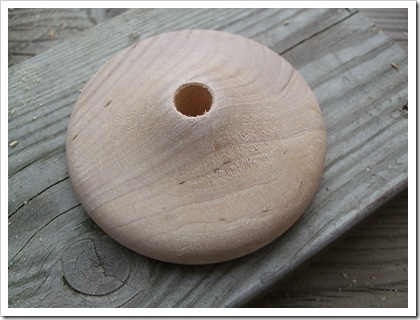
DSCF3626
I went off to the local craft store (Swedish Panduro) and bought the bottom
plate for making a table flagpole, to the cost abt EUR 1 – not a big deal.
It measures abt 85mm and the hole is 10mm diameter.

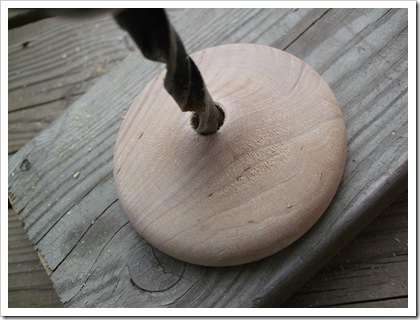
DSCF3627
As for the flagpole the whole is not drilled all through the wooden plate,
you will have to do just that. Make sure your drill is same size as the
whole, and that you do not tilt the drill while drilling.

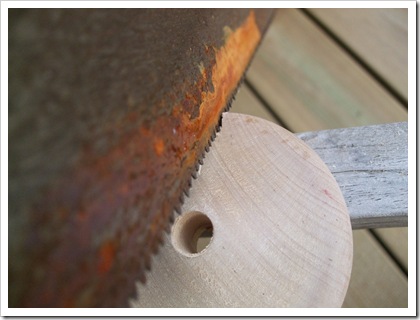
DSCF3628
Then with a saw or a knife you make a scar at the side of the
wooden plate. Yeah, I know my saw is a bit rusty but it works anyway.

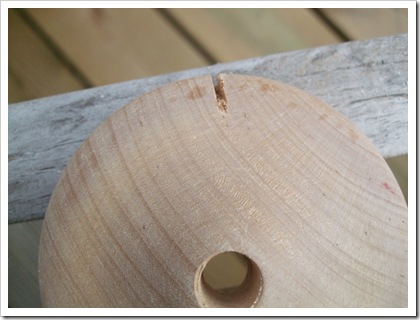
DSCF3629
Now, this small scar will hold your yarn in place while spinning.

DSCF3630
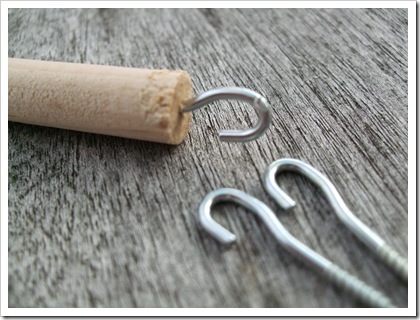
Take a wooden stick same size as the whole, and cut it to abt 23-25 cm long,
and put a small hook at one end of the stick.

DSCF3631
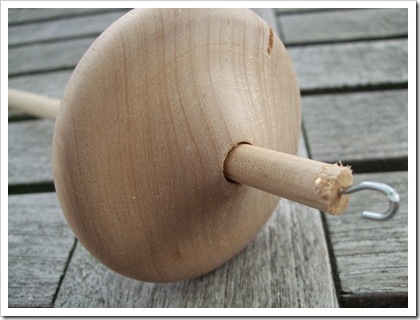
Push the wooden stick through the whole in the wooden plate and
tadaa!! You now have your own drop spindle! I made four of them so far,
and with two of them I was lucky the stick fits perfectly in the whole,
but two of the needed some glueing to make the plate stay in place.

Now, head over to youtube and search for drop spindle spinning videos.
There are lots of them actually. Then head over to Ravelry and join one or several
of the spinning groups and start reading the discussion boards.
From there you will for sure get enough information to get started.

Happy spinning!

Tatty teddy flair button

aaa